 When I was a youngster, and I had more collagen and brain cells to spare, I was obsessed with getting a tan. Then I realized that being of pale Nordic heritage that naturally tan skin would cost way too much skin damage and wrinkles. Basically, I have to lay out for weeks without sunscreen to get any real color and by then I have gotten a lot of freckles in the process. Also, in the past few years I have a couple of moles gone rouge and skin cancer scares which will definitely make you take sunscreen more seriously. I still stand by my sunscreen recommendations: Neutrogena and Kiehl’s, which have served my skin very well over the years.

These days, I rely more on fake tanners and they are soooooo much better than they used to be. I just got back from a week in Florida and wore sunscreen faithfully the entire trip. I am not a deep dark brown but I did get some healthy color and natural vitamin D.
Because I didn’t want to be the palest person when I got there, the night before we left I used the following products to fake a tan and it worked! I didn’t feel pale and pasty and I didn’t look like a dried up prune. My skin looked like I had been basking in the sun for weeks, but without all the damage. Read on for my favorite products and the best way to use them.
Tip 1 – Exfoliate as if your life depended on it, paying special attention to your ankles, knees and elbows.
Tip 2 – Avoid oil based moisturizers for twelve hours before applying the product, oil makes it difficult for the tanner to sink in.
Tip 3 – Right before applying the tanner, slap some lotion on your ankles, hands, knees and elbows. These are the places the sunless tanner tends to darken up more and the lotion will it keep from doing that and getting all patchy. I also like to put lotion on the inside of my forearms, as that area does not get as tan usually.
Tip 4 – Apply at night on dry skin before you go bed, with gloves or a tanning mitt. Use long, even strokes. (that sounds kinda dirty, sorry not sorry)
 Tip 5 – Once you have applied the sunless tanning lotion, use a flat make up brush or kabuki brush to blend in the product in certain areas like the neck, wrists, knees, ankles, collarbone, hairline. When you do it this way, it just looks more natural.
Tip 6 – Go to bed!
I know these steps are kind of pain in the ass, but so is skin cancer my friends.
Products I recommend-
Dr. Dennis Gross Alpha Beta Glow Pads
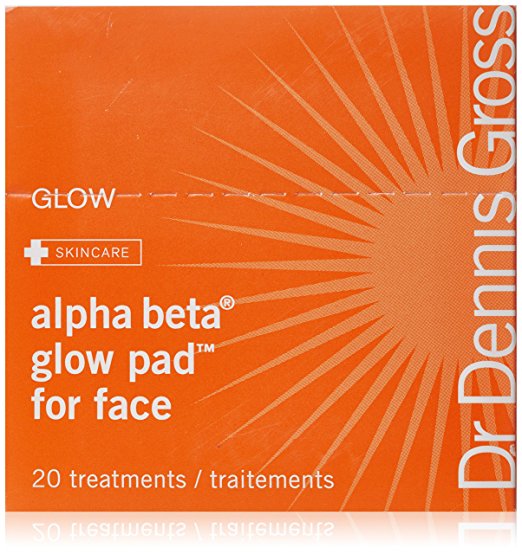
These are easy to use, convenient and work really well. Plus, they have skin care benefits. These come in individual packets and the packaging makes it easy to take it with you on your trip, for a mid trip tanning boost. These Glow pads come in sizes for face and body but most important thing to note is that the color they give is really natural looking and not orange. Available for $35 at Sephora, Amazon and at Dr. Dennis Gross
Vita Liberata Sunless Tanning Mousse-
I have tried many a self tanner this is by far my favorite for the natural color it gives especially if you are fair like me. It has a mousse texture that goes on easy with a mitt. I would like to say that it is streak free but with all self tanners, it really depends on your application. If you put it on haphazardly it’s gonna like it you did. Another bonus is that it works on face and body so you don’t have to buy two different products, which is kind of bogus anyway. This product is on the spendy side but will last you the whole summer if not longer. Available on Amazon and Sephora for $54 (gulp.) Just reminding myself that skin cancer is more expensive.
One final tip: You can apply self tanner to your face like you would bronzer and the results will be magical. That is – using a fluffy brush swipe your cheeks, temples bridge of your nose, chin and collar bones with self tanner and blend in.
Oh and please wear sunscreen!
xoxo,
Natalie
